Role Hierarchies in Salesforce
What is Role Hierarchy?
A role hierarchy works together with sharing settings to determine the levels of access users have to your Salesforce data. Users assigned to roles near the top of the hierarchy (normally the CEO, executives, and other management) get to access the data of all the users who fall directly below them in the hierarchy. Each role in the hierarchy just represents a level of data access that a user or group of users needs.
The role hierarchy enables these behaviors:
The role hierarchy enables these behaviors:
- A manager always has access to the same data as his or her employees, regardless of the org-wide default settings.
- Users who tend to need access to the same type of records can be grouped together.
Depending on your sharing settings, roles can control the level of visibility that users have into your Salesforce data.
Create a Role Hierarchy:
- From Setup, use the Quick Find box to find Roles.
- Just under the company name, click Add Role.
- In the Label text box, enter CEO.
- In the This role reports to text box, click the lookup icon and click Select next to the name of your Org.
- In the Role Name as displayed on reports text box, enter CEO.
- Leave any other options, such as Opportunity Access, set to their defaults, and save.
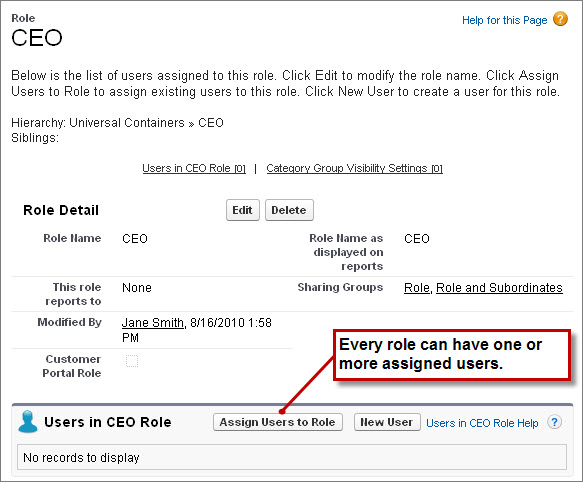
- Now that you’ve created your first role, you can assign the appropriate user to it. Click CEO, and on the CEO role detail page, click Assign Users to Role.
- In the Available Users drop-down list, select All Unassigned.
- Choose a user from the list, and click Add to move her to the Selected Users for CEO list, then save.

Comments
Post a Comment